Today, I made these:


Seeing this pin made me drool:

Is there anything better than homemade caramel? No, no there isn't. Every year around the holidays my mom's friend at work would make caramels and send them to our house... and they were amazing. I really wanted some this year but making them seemed so daunting. I looked for recipes all over until I finally found the most perfect recipe for simple caramels that had great directions and tips to make sure they turned out exactly as they should: chewy and delicious.
I can take no credit for this recipe, it comes from a great blog Givers Log. The original post on her blog is Here - I highly recommend going to check it out to get detailed instructions!
Step 1: Grab your candy thermometer and clip it to the side of a 3-6 qt pan filled with cold water. Make sure the bottom of the thermometer is not touching the bottom of the pan! Bring the water to a boil and note the temperature. Water should boil at 212 degrees- but since my thermometer is not top notch- it marked boiling water at 210 degrees. (I got mine for $5 bucks as Walmart- good, quality candy thermometers can cost upwards of $30 at least)

2 1/4 cups brown sugar
1 14oz can of sweet condensed milk
1 tsp vanilla
1 cup light corn syrup
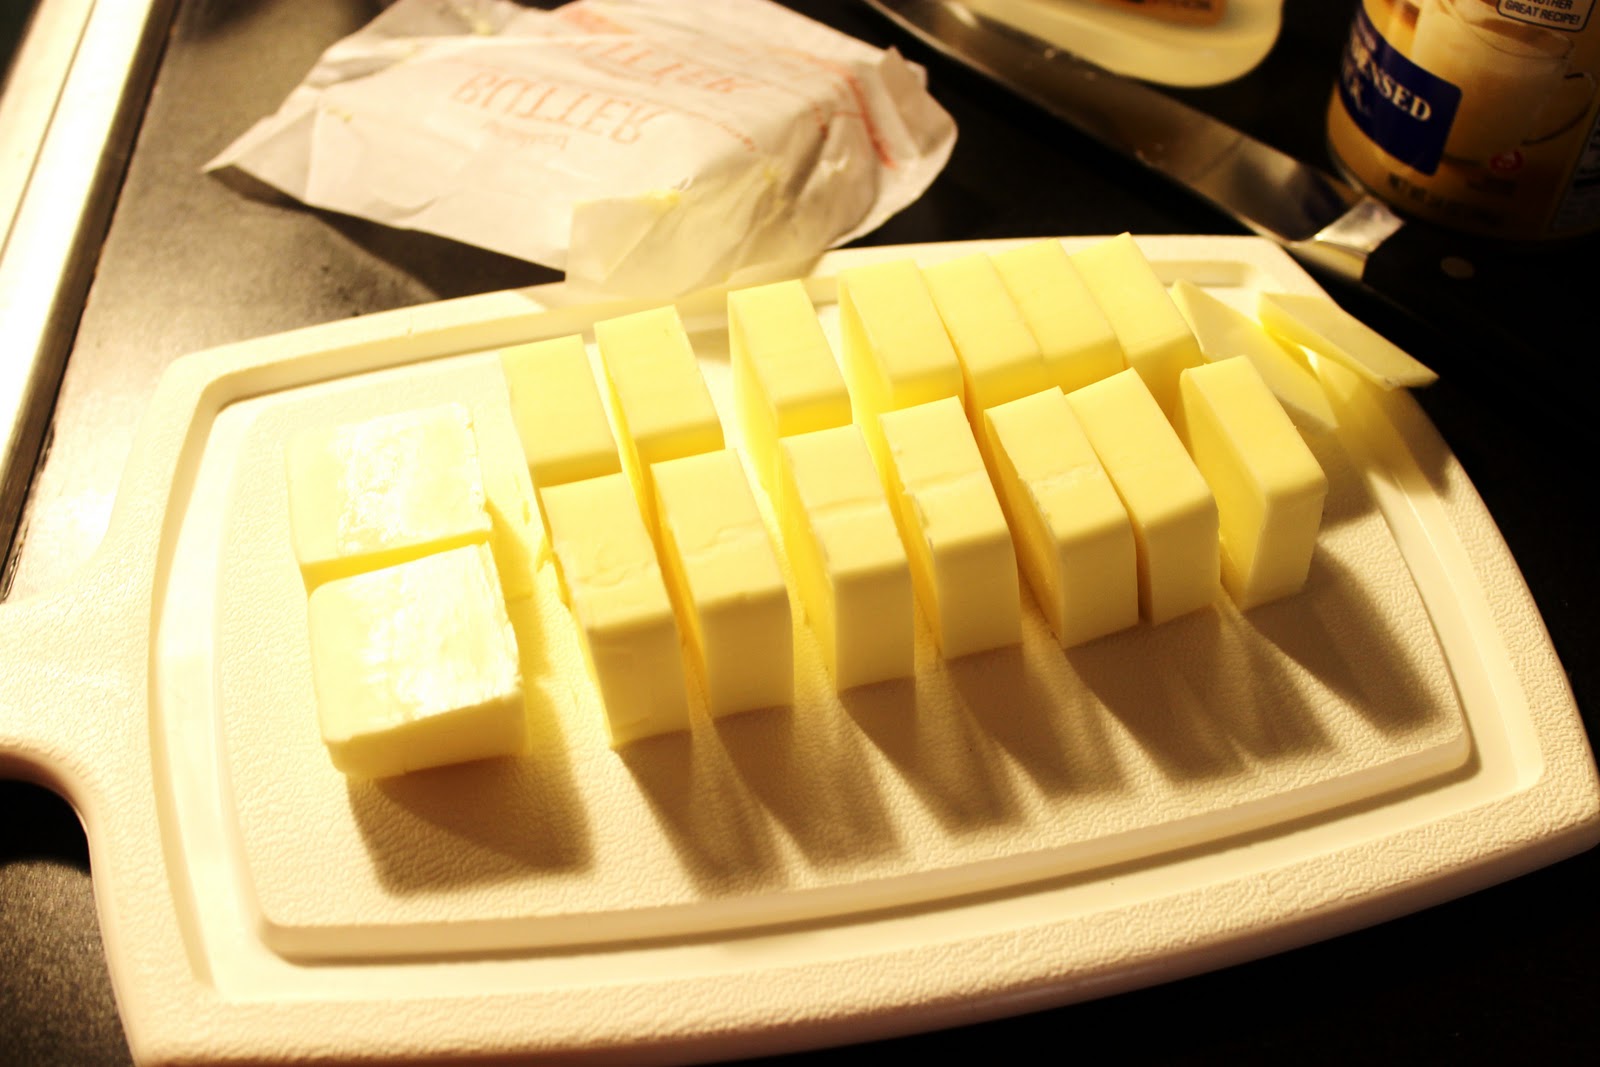
1 cup (2 sticks) unsalted butter
(prepare a jelly roll pan lined with parchment paper to pour the caramel in)


Step 5: Add in your corn syrup and sweet condensed milk (doesn't it look cool?) and stir until it's well mixed on medium heat for a minute- slowly (as to not shock the candy) moving it up to medium high heat until it reaches a boil. Clip your thermometer back on the side of the pan - again making sure not to have it touching the bottom of the pan.


Now I'm going to look for other things to add to the recipe next time I make it- like Fleur de Sal or coffee extract. Yum!
I've got to say- although tedious- caramels are really pretty easy to make and well worth the time. Come visit us in VA and I'll make you some! That is, if Michael doesn't get to them first...


0 comments:
Post a Comment